Our Office Design Plans | Craftsman
We are picking back up where we left off from when we traveled to Europe and post our backyard refresh. We started our office remodel before we left by skim coating the walls to smooth out the texture and installing nickel gap boards on the ceiling and I am now sharing our full remodel plans.
We had a fantastic time in Europe and the Trevi Fountain was truly an architectural marvel.
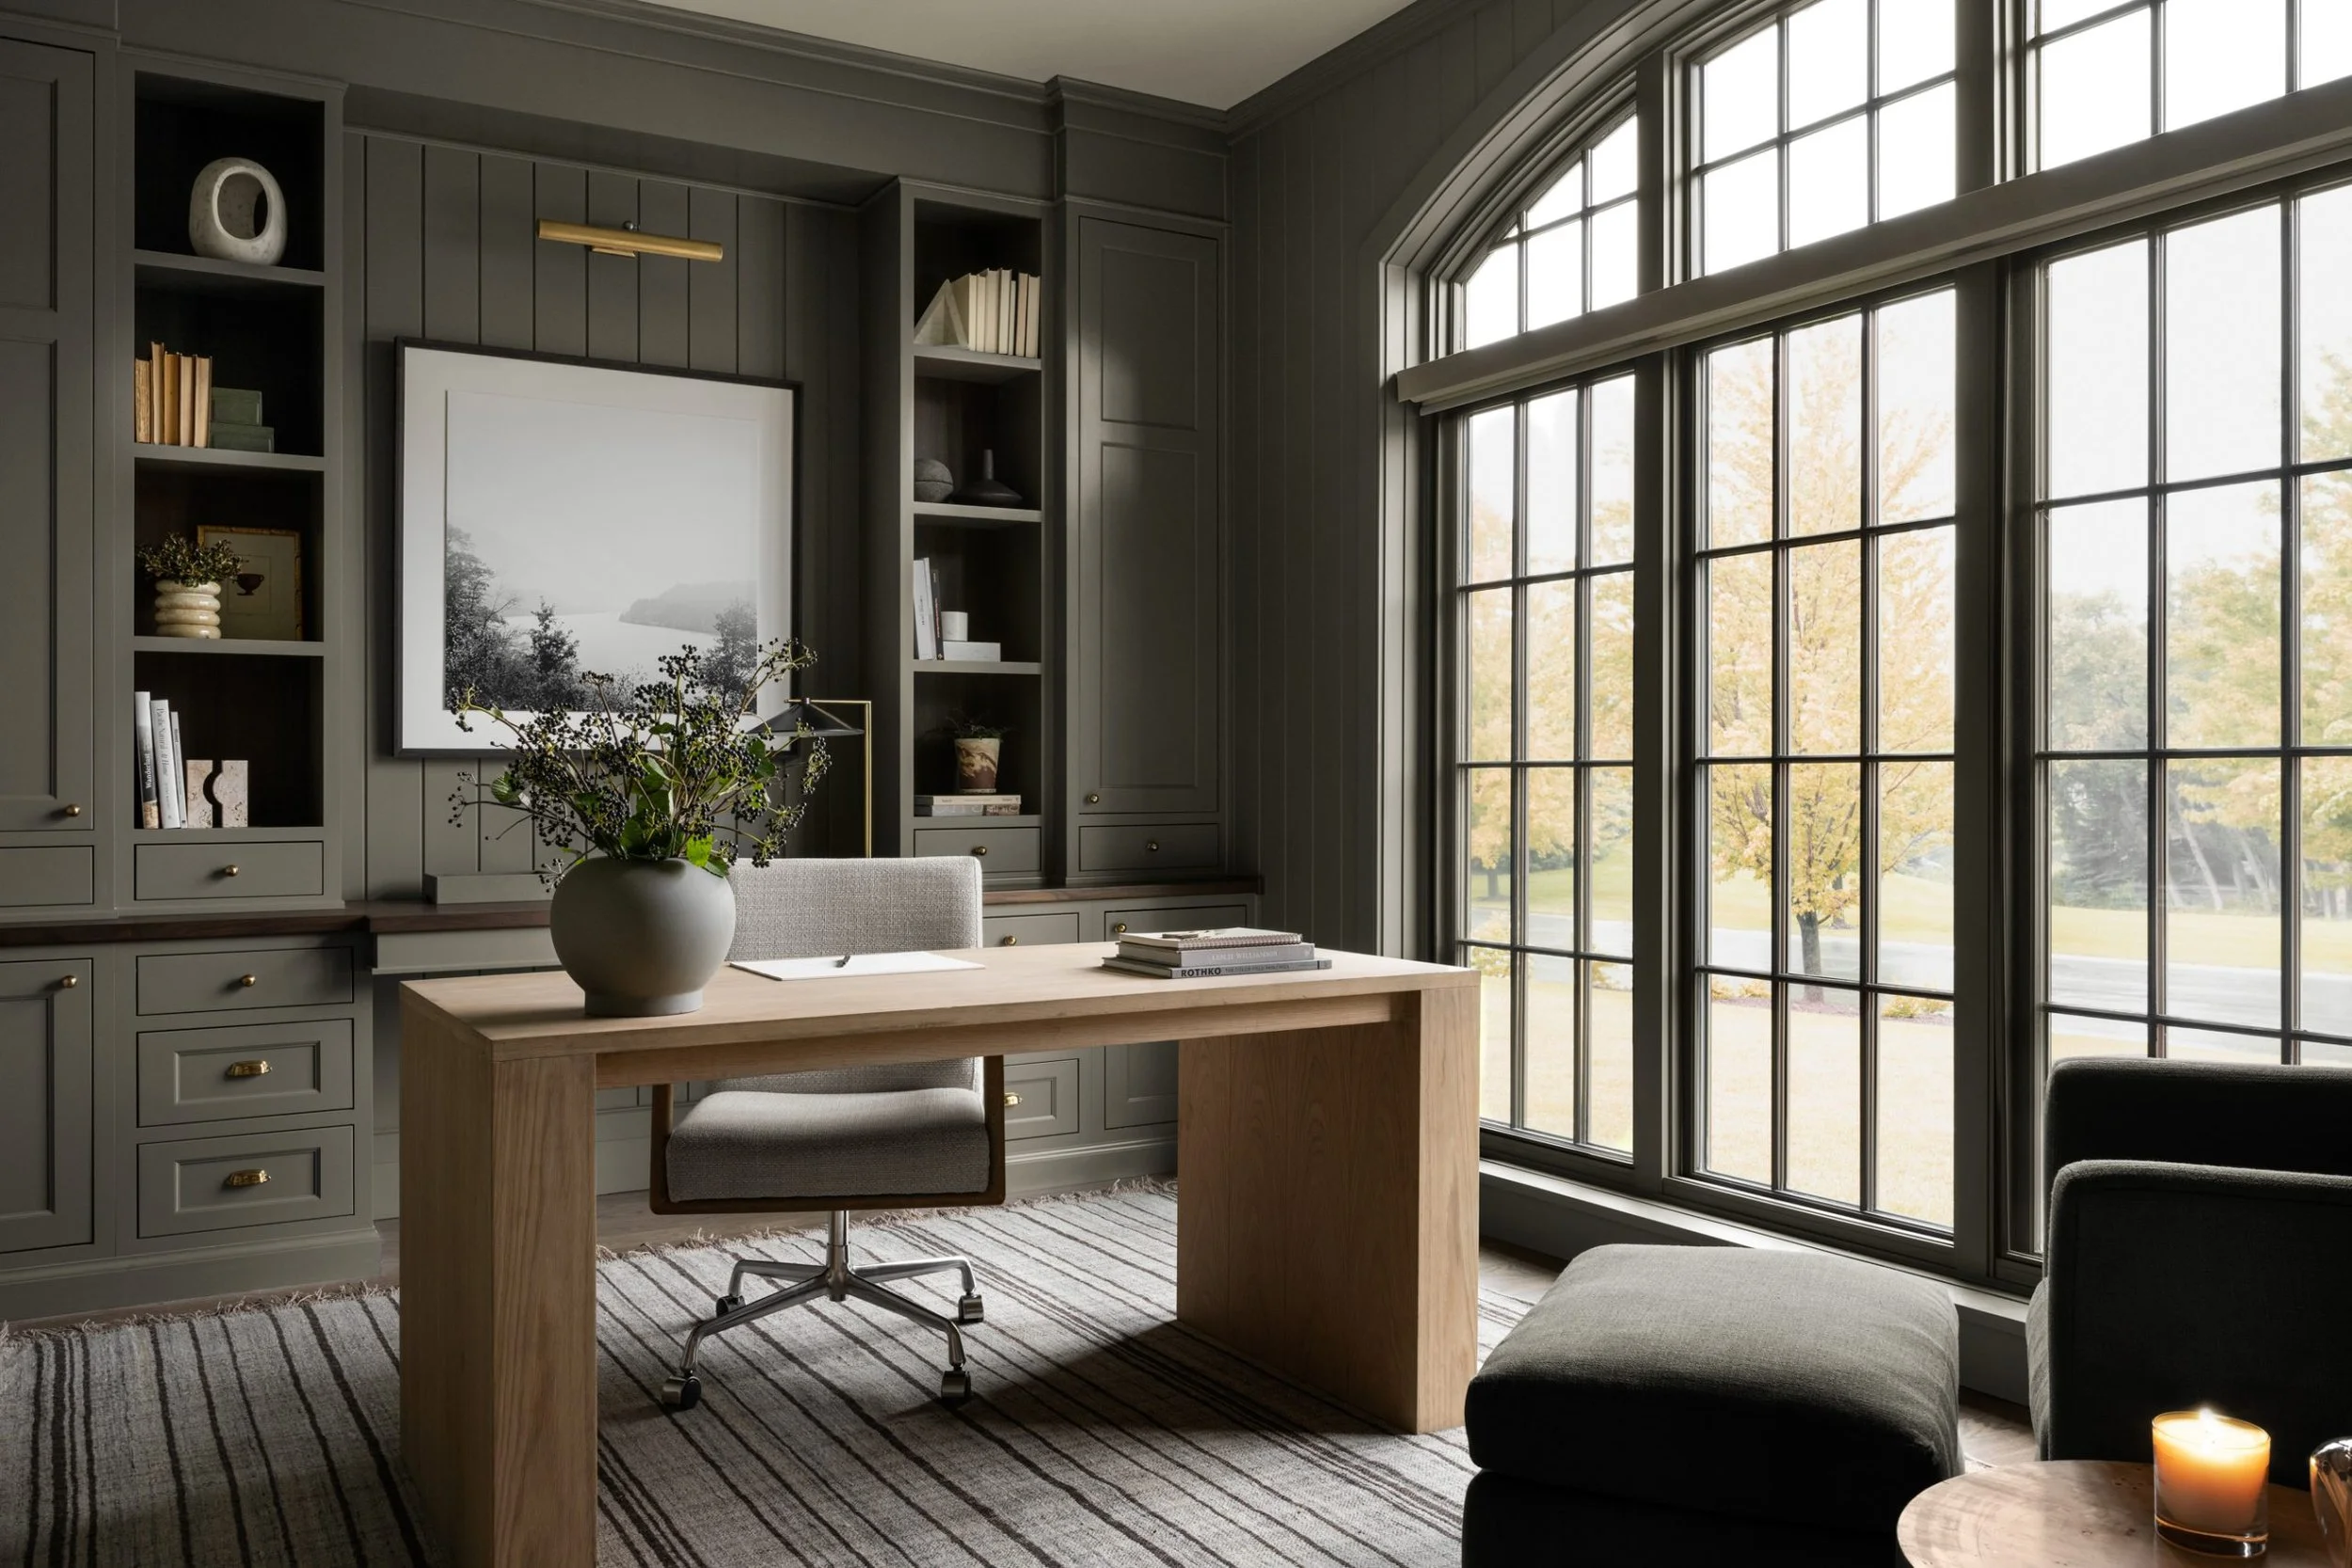
Design Concept: dark paint with an ivory rug and natural light from the windows to brighten the space back up. Designed by: Studio Mcgee
Design Concept
As for the design concept I have been dreaming of a moody office moment for when you first walk into our home. I looked at architectural details that I wanted to include from craftsman homes that I wanted to incorporate. Our home is a Cape Cod/ Craftsman look alike styled home, so I have slowly been trying to add more craftsman details to stay true to the exterior style of our home. I want this space to feel cozy and inviting, but yet unique from the rest of the house.
I am loving the unique side table shown in this photo and this beautiful rug. Design by: Magnolia, Joanna Gaines
Incorporating Craftsman Details to Our Builder-grade Home
Trim work is key - When I scour the internet and look at beautiful old homes, they have one thing in common… trim work and molding at every doorway transition. Our current entrance to the office is a drywall arch with rounded edges, which is very typical in 2000’s and up builder-grade homes. It is just not giving me what I need architecturally. We will be adding craftsman trim and changing the arch to a rectangular casing.
Transom Window & French Doors - A transom window was used in older homes to keep the air circulating throughout the house before there were AC units. It also adds a beautiful detail that we plan to incorporate into our office entrance. As for the French doors having glass framed out is just classic and you can’t go wrong with adding them to your home. We need to include them so we have more privacy from our dogs and our son during the work day.
Molding Designs - There are several molding types that signify craftsman molding: Wainscoting, Picture Frame and Coffered Paneling/Ceilings. We are using Picture Frame molding for our office.
This image captures beautiful trim and casing around the door as well as the picture frame molding we are including in our design. Design by: Gallup Design Build
This doorway is showcasing a transom window, which I think truly adds character. Photo By: Roelke Ranch
A natural wood stain will be used on our French doors to enter the space.
Custom DIY Built-In
We are incorporating two desks into this built in, one for me and my husband on the same back wall of the office. By having two desks on the same wall, it will decrease the size of our shelving above, however by making it completely custom we will add as much as we can to the ceiling. We are sourcing three 12”W X 24”D inset drawers from Ikea as the base cabinetry. We will be building the toe kick for each drawer to sit on, placing wood across the top as the desk surface and then building the shelves up from there to meet the ceiling.
Desk layout concept, but elevating the design with bookshelves and crown molding. Design by: Family Handyman
Ceiling Details
We already have our nickel gap / ship lap ceiling up and installed, you can see the installation for this on my Instagram story. We put up chalk snap lines to ensure we knew where the studs were. A chalk snap line is basically a string with blue chalk that you run along your ceiling, in which case you will not have to worry about missing your studs. Crown molding will be a final step for our construction portion of this job, we will need the built-ins installed before we can move onto that step.
Nickle gap on the ceiling & crown molding above the built in and picture frame molding. Designer Unknown
Finally… Paint
Finally, we are pulling out the sprayer to paint the entire space SW Tricorn Black. We have worked on sanding out all of the texture from our skim-coated walls so they will be nice and smooth when the paint is applied.
Design By: Kelsey Leigh Design Co
We are excited to jump back into this project! Full disclosure we went back and did another layer of skim coating because I was paranoid about seeing texture through the black paint and I really want it to be extra smooth. So, this week we will be sanding again to kick off getting back on track with our Office design.
Our office in its current state…
Hope you follow along, we have a long way to go!


